




1
Measure precisely
Measure the width and height on the glass in millimetres.
Delivered made to measure and fitted in clear steps
Stick & Fit has been developed for DIY fitting. After precise measuring, the system is made to fit; at home you clean the glass, position the profiles and fit the product without a drill.
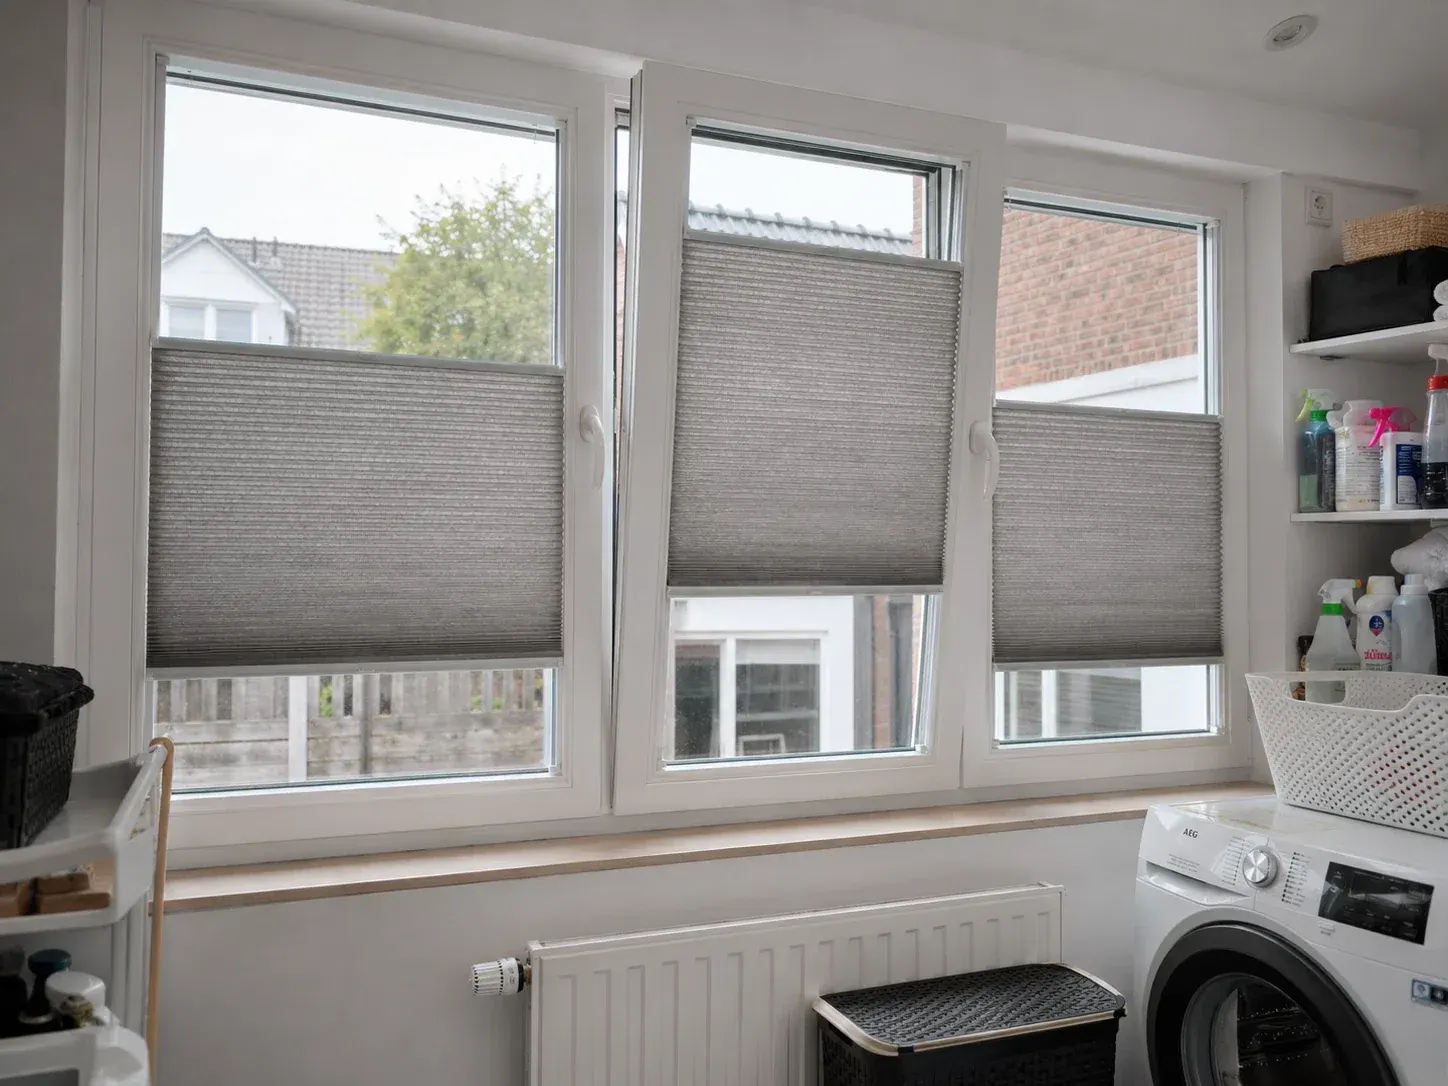
Quick fitting mainly means that the system has been cleverly prepared. The key actions are measuring, cleaning, aligning and pressing down calmly.
A good installation does not start with sticking, but with calmly measuring, cleaning and aligning. If you follow those steps, you avoid crooked fitting and needlessly starting again.
Measure the width and height on the glass in millimetres.
A clean, grease-free glass surface is the basis for strong adhesion.
Position the left and right before you press the tape down for good.
Attach the made-to-measure product following the instructions and installation video.
Why DIY fitting stays straightforward
The adhesive profiles form the complete side guide. The product is delivered made to measure and the feet, cords and operating rails belong to one system. This means there are few separate decisions to make during installation.
The broad benefits of Stick & Fit
Each page explains a different problem, but these product benefits are always part of the solution.
Fitted with narrow adhesive profiles on the glass on the left and right; the window frame stays free of drill holes.
No surrounding frame around the window. The windowsill stays clear and the system sits compactly on the glass.
The fabric can be set to any position, infinitely: from the top, from the windowsill or just in the middle.
The honeycomb fabric itself requires no installation work; you place the two narrow adhesive profiles and click the pre-assembled system into place according to the instructions.
No loose operating chain or cords; you operate the system directly with the handle-free rails.
Single Tone, Duo Tone and Black-out, many fabric colours and five colours for adhesive profiles and operating rails.
An affordable made-to-measure solution that is usually cheaper and more compact than a pleated blind in a full frame.
The end result stays compact on the glass and therefore looks much calmer than temporary paper adhesive pleated blinds. Do give the adhesive strips 24 hours after fitting to bond completely.
From search query to product choice
Three clear phases make the installation predictable.
Check the size, parts and fitting order and clean the glass carefully.
Align the adhesive profiles and press the tape down evenly.
Fit the system, check the tension and test the top and bottom rails.
Practical and ready to use
The installation guide and video follow the same logical order.
Make the glass clean, dry and grease-free.
Position the profiles exactly along the glass.
Let the tape bond fully and evenly.
Move the top-down/bottom-up blind gently through its full range.
Frequently asked questions
Clear answers about use, fabric choice, installation and expectations.
Yes. The system is designed for self-installation and is supplied made to measure. The instructions and installation video show the steps clearly.
Once the glass has been prepared and all parts are laid out, the actual installation usually takes about five minutes per product.
The strong tape bonds best to clean, dry and grease-free glass. Good preparation determines how durable the installation is.
No. The profiles are stuck to the glass and no screws are needed in the window frame.
Yes. With correct preparation and installation, the adhesive bond is very sturdy and the system will not come loose by itself.
Read on
From product benefit to your window
Watch the installation video and measuring instructions first. If you have already chosen your fabric and colour, you can then put together and order the exact version straight away.
No damage to your window frame
A perfect fit for every window
Improved insulation and blackout
Privacy, blackout and insulation
In the Netherlands, Belgium, Germany and France